     _    __      __                    _____ ___     __
    | |  / /___  / /_  ______ ___  ___ / ___// (_)___/ /__  _____
    | | / / __ \/ / / / / __ `__ \/ _ \\__ \/ / / __  / _ \/ ___/
    | |/ / /_/ / / /_/ / / / / / /  __/__/ / / / /_/ /  __/ /
    |___/\____/_/\__,_/_/ /_/ /_/\___/____/_/_/\__,_/\___/_/
Introduction
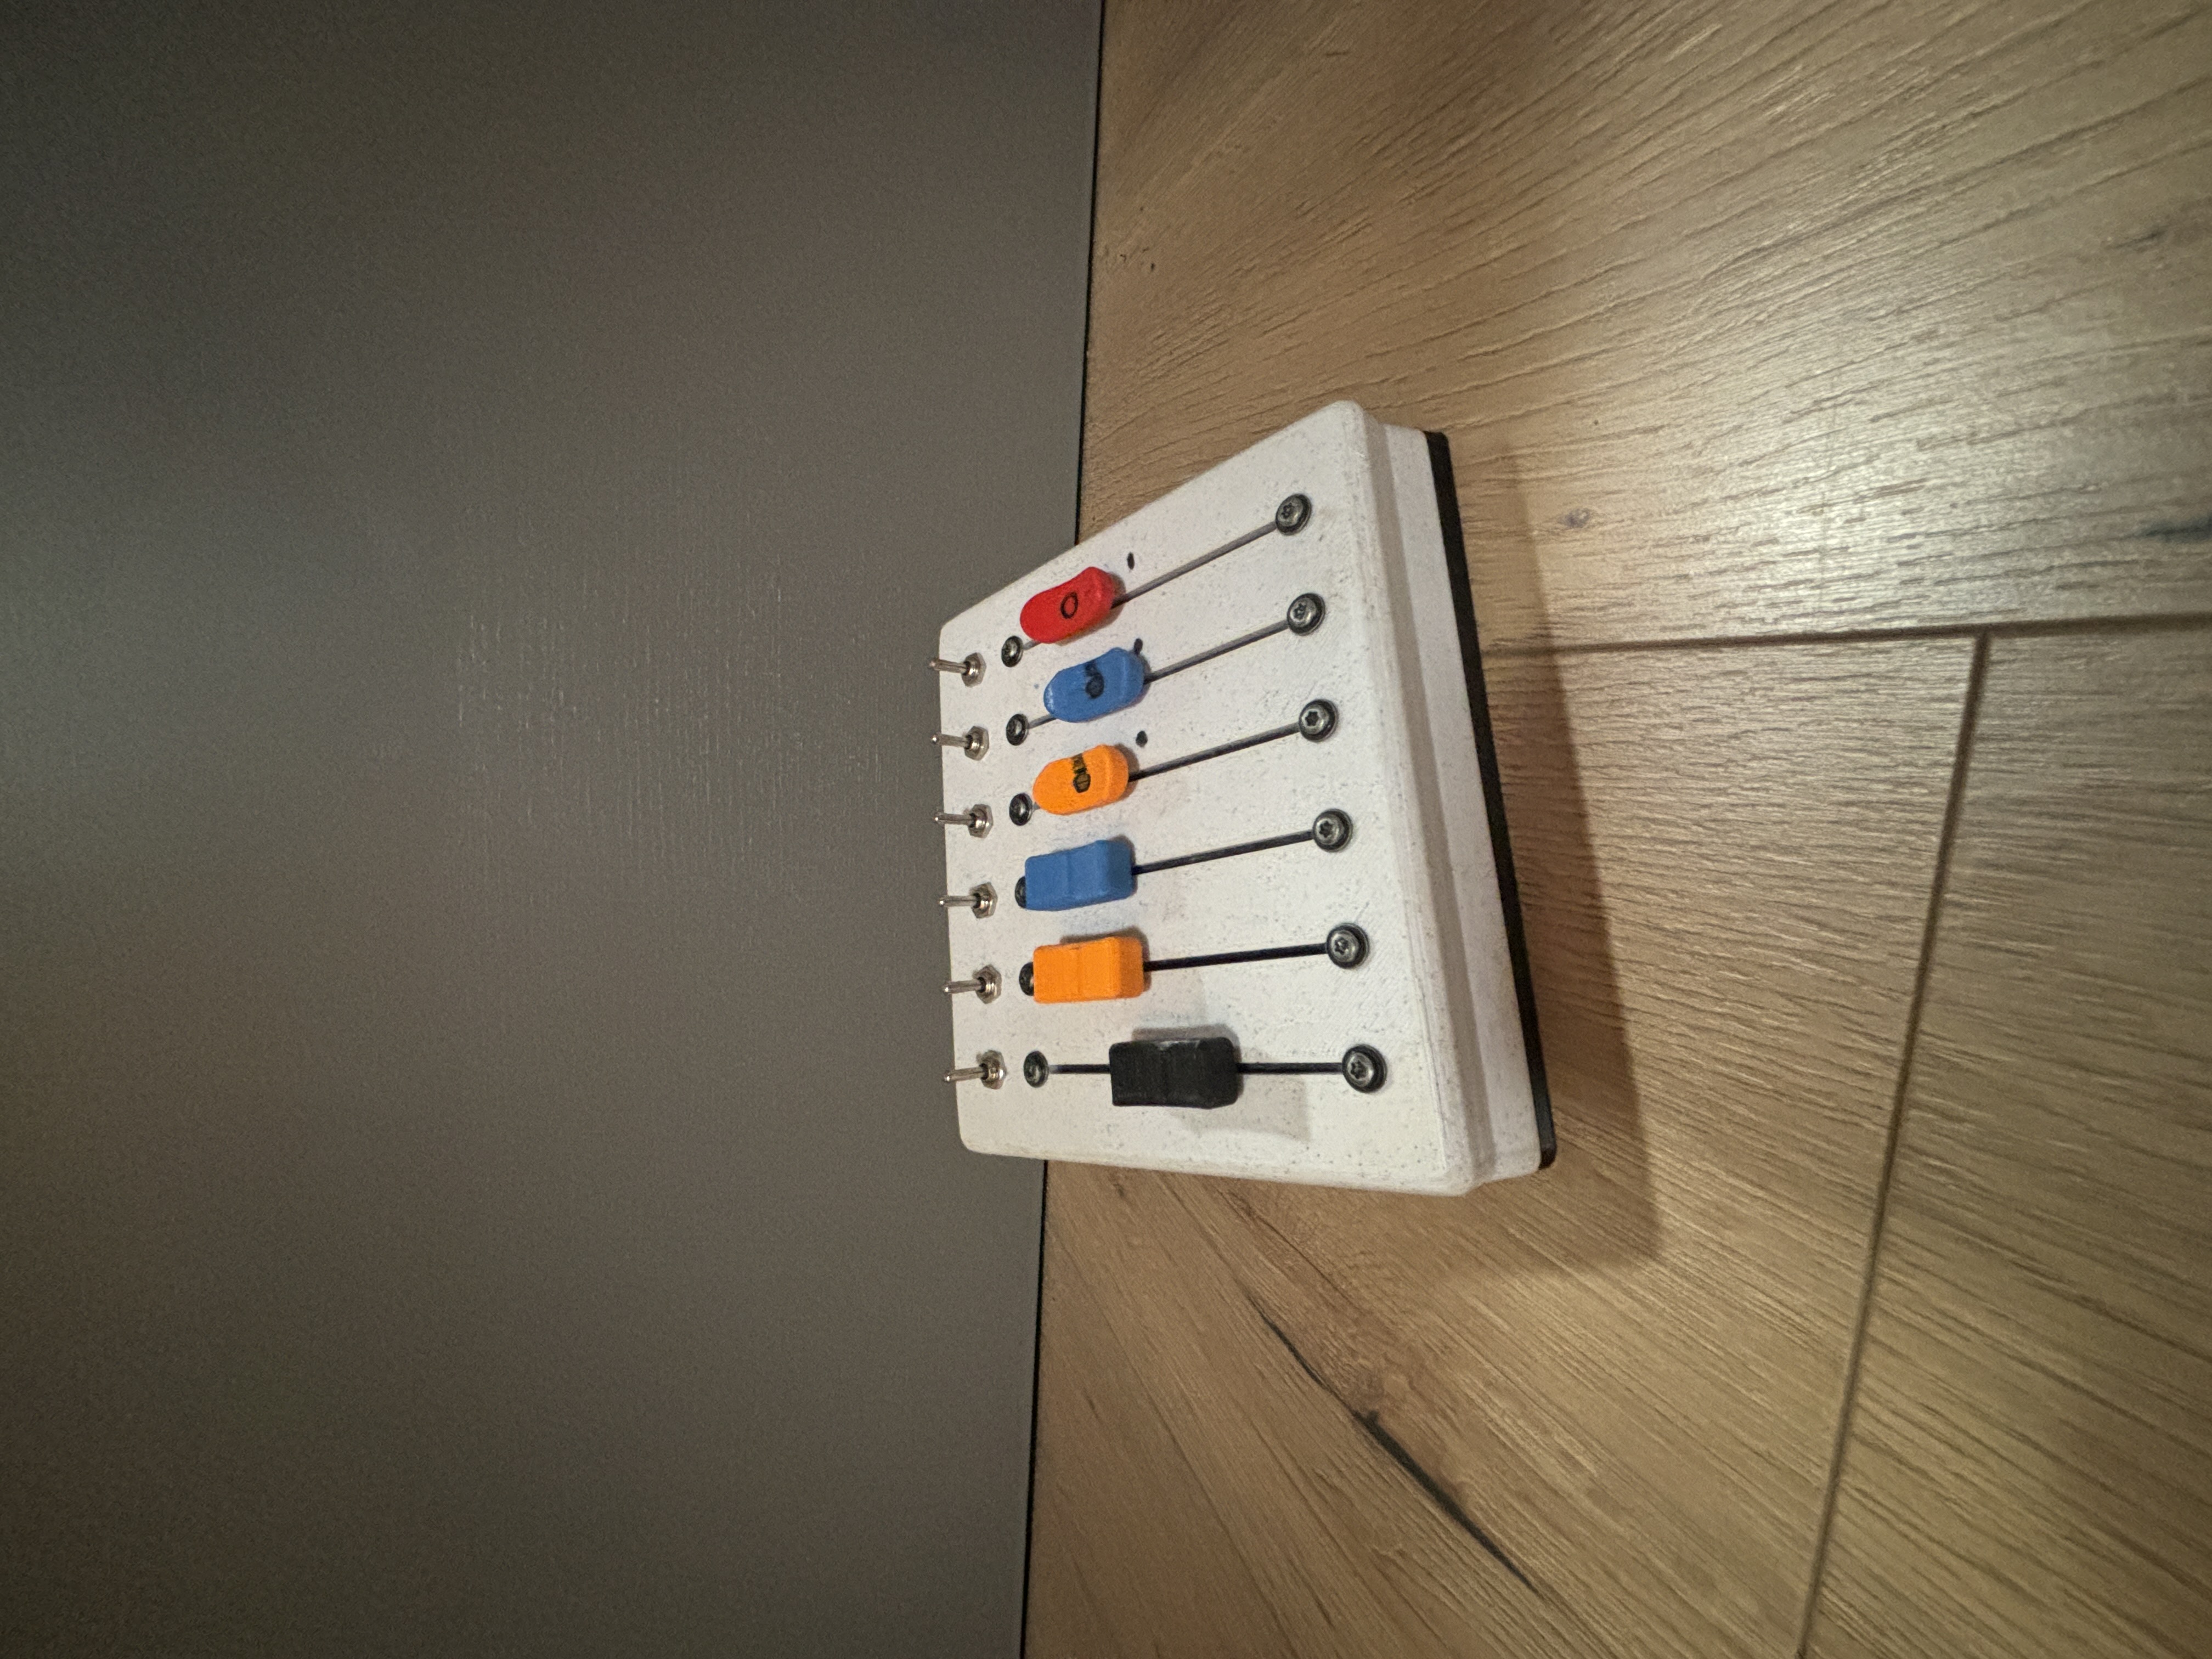
In modern music production and live performance setups, precise control over audio levels is crucial. A volume slider, integrated with Arduino and a MIDI chip, offers a versatile and programmable solution for controlling audio volume. This report details the design, components, and implementation of a volume slider using an Arduino microcontroller and a MIDI (Musical Instrument Digital Interface) chip.
Components and Tools
- Arduino Microcontroller: Arduino Uno or any compatible model
- MIDI Chip: MIDI Shield or a dedicated MIDI breakout board (e.g., SparkFun MIDI Shield)
- Slider (Potentiometer): Linear potentiometer
- MIDI Cable: Connects the MIDI output from the Arduino to a MIDI device or MIDI interface
- Additional Components: Resistors, capacitors, jumper wires, breadboard, and a MIDI DIN connector
- Software: Arduino IDE, MIDI Library
Circuit Design
The circuit design involves connecting the linear potentiometer to the Arduino and interfacing the MIDI chip for communication. Here’s a step-by-step guide:
- Connect the Potentiometer:
- VCC (5V): Connects to one end terminal of the potentiometer
- GND: Connects to the other end terminal
- Analog Input (A0): Connects to the wiper (middle terminal) of the potentiometer
- MIDI Chip Connection:
- TX (Transmit): Connects to the Arduino’s digital pin (usually pin 1 or 2, depending on the library setup)
- GND: Common ground with Arduino
- VCC: Connects to 5V power supply
- MIDI DIN Connector:
- Pin 4: Connects to the MIDI chip’s TX pin
- Pin 2: Common ground
- Pin 5: Connected via a 220-ohm resistor to 5V
Programming the Arduino
The Arduino is programmed to read the potentiometer value and send corresponding MIDI volume control messages. Here is a link to my git
Implementation and Testing
Here are the steps for assembling and testing the volume slider:
- Assembly: Assemble the circuit on a breadboard or solder components onto a PCB for a more permanent solution. Ensure all connections are secure and the potentiometer moves smoothly.
- Testing: Connect the MIDI cable from the Arduino to a MIDI interface or directly to a MIDI-compatible device. Upload the sketch to the Arduino. Move the slider and observe the changes in volume on the connected MIDI device.
Applications and Extensions
This volume slider can be used in various applications:
- Live Performance: Real-time control over volume levels of different instruments or audio tracks.
- Studio Production: Precise adjustments during mixing and mastering processes.
- Integration with DAWs: Use the volume slider as a MIDI controller within digital audio workstations like Ableton Live, FL Studio, or Logic Pro.
Possible extensions include:
- Multiple Sliders: Incorporate multiple sliders for controlling various MIDI parameters (e.g., pan, expression).
- Wireless Communication: Use Bluetooth or Wi-Fi modules to create a wireless MIDI controller.
- Visual Feedback: Add LEDs or an LCD screen to display current volume levels.
Conclusion
Creating a volume slider using an Arduino and a MIDI chip is an effective way to gain precise control over audio levels in various music production and performance contexts. The flexibility of Arduino programming and the standardization of MIDI protocol make this project highly adaptable to different applications. By following the outlined steps, you can build a functional and reliable volume control device.